


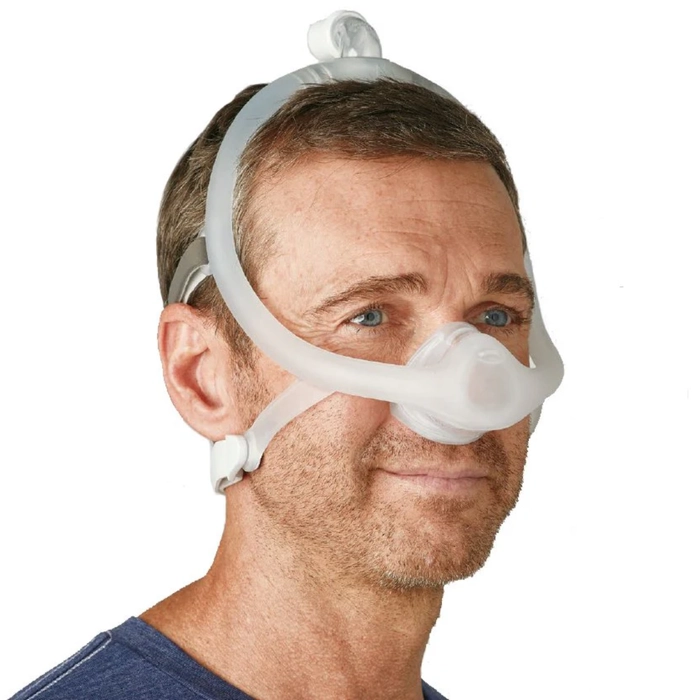
Philips Respironics Dreamwisp Nasal CPAP Mask
Product details
DreamWisp has been designed to help patients sleep comfortably with every turn. Marrying the freedom of DreamWear’s revolutionary, top of-the-head tube design with Wisp’s proven over-the-nose auto seal cushion creates a mask that lets patients sleep how they want without having frontal tubing in the way.
Key Features Of Philips Respironics Dreamwisp Nasal CPAP Mask
Top-of-head tube: Patients can sleep in any position they desire—on their stomach, side, or back - without having the hose in front of their face.
Minimal headgear design: DreamWisp delivers airflow within the frame, provides an open line of sight and a uses smaller footprint than traditional nasal masks.
Easy-to-use magnetic clips: Magnetic clips enable quick assembly and release of the headgear which can be especially useful for patients who have dexterity issues.
Minimal contact nasal cushion: Proven Wisp cushion technology provides minimal contact with the face while creating an optimal seal for patients as they sleep.
DREAMWISP NASAL CPAP MASK DISASSEMBLY
1. Quick Release tube: Take the quick release tubing out of the elbow.
2. Elbow: Draw the elbow from it’s connection at the top of the frame.
3. Built sleeve: Undo the strips from the mask frame and remove them.
4. Headgear: Undo the headgear tabs and move the adhesive clips over the slots.
5. Headgear: Remove the headgear tabs and drag through the mask frame slots.
6. Magnetic clips: Separate the magnet from the circular end of the clip in order to disconnect the magnets. 7. Wiggle the circular end of the lower slot in the frame of the mask. For faster removal, you can flex the mask base.
8. Size connector: Separate the mask frame tubing from its socket.
9. Cushion: Pull the cushion from the mask frame.
17
Owned Offices
100+
On-Roll Trained Staff
4.9
Google Rating (5000+ Reviews)
100%
Growth YoY
30+
Year Technocrat Promoters
Top Brands
Partnerships
18%
GST Bill Savings
Given
Demo at Home
✅
Installation by Technician
Provided
Backup Units
